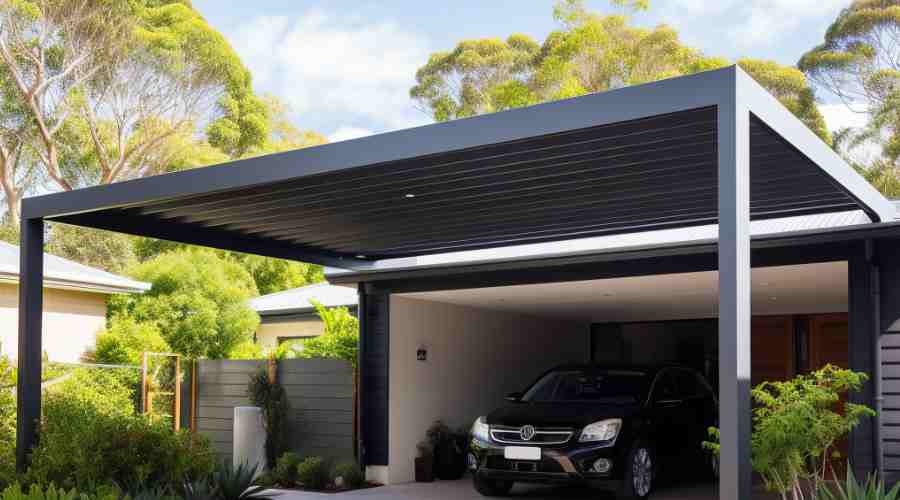
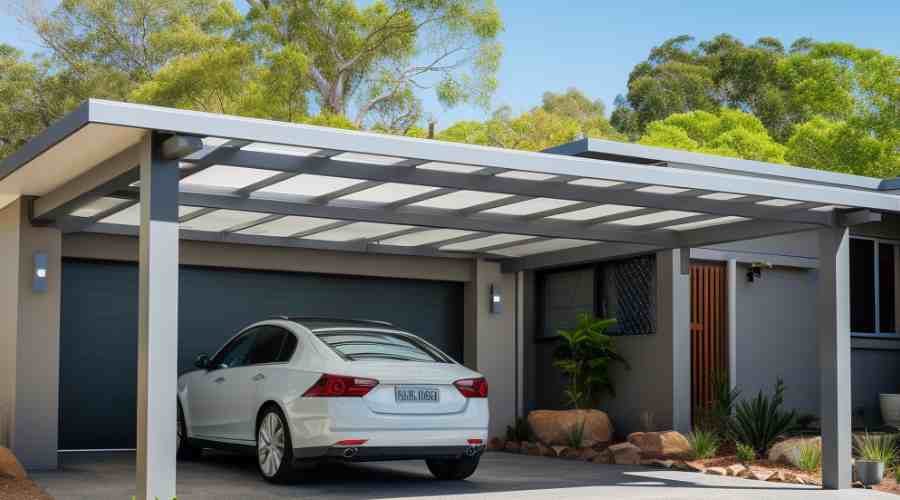
The Carport Building Process
Complete Guide to Building Your Own Carport
Do you need more covered parking at your home but don’t want the expense of adding a garage? Installing a carport can provide protection from the elements for a fraction of the cost. This comprehensive DIY guide will walk you through the entire process, from initial planning and design to the final construction steps for completing your new carport.
1. Planning Your New Carport
Before you can break ground on your carport, careful planning is required for success. There are important factors to consider during the design phase.
Choosing the Right Location
Selecting the installation location may be dictated by property limitations, but ideally aim for:
- Maximising sun protection based on sunlight patterns
- Easy access to/from nearby driveways or parking areas
- Complimentary aesthetics for your home’s exterior stylistic features
- Sufficient clearance from overhead power lines, trees, and other structures
Understanding Council Regulations
Most areas require development applications (DAs) for structures over a certain size. Your local council can provide specifics on:
- Allowable carport sizes and maximum height restrictions
- Minimum setback distances from fences and boundaries
- If neighborhood covenants apply for appearances
- Any needed advance council approvals before installing
Hiring a Contractor vs DIY Construction
If you don’t have building experience, paying a professional carport company to handle the entire process may save time, effort and headaches. But if you’re up for a challenge, building your own can save substantially on labor costs. Be realistic about your DIY abilities before deciding.
Customising Design Factors
Consider how you intend to use the space. Accommodating extra vehicles requires additional size and footprint. Other options like enclosed storage can also impact plans. Key elements that influence the layout include:
- Overall dimensions based on parking needs
- Types of roof styles – flat, gable carport, hip, lean-to
- Building materials: wood vs aluminium vs steel
- Walls vs open-sided
Table summarising carport types comparisons
| Type | Description | Material Options | Cost Comparison | Skill Level |
|---|---|---|---|---|
| Attached | Leans against an existing building for one open side | Timber, metal | $8,000-$20,000 | Advanced |
| Free Standing | Fully self-supported structure | Timber, metal, vinyl | $2,000-$8,000 | Intermediate |
| Lean-To | Simple single-sloped roof | Timber, metal | $500-$2,000 | Beginner |
| Enclosed | Fully enclosed with garage door access | Timber, metal, vinyl | $15,000+ | Advanced |
2. Pre-Build Preparations
After settling on a final carport design plan, a bit of handy prep work gets your build site ready for construction.
Marking Out the Structure
Accurately establish and map where key installation points will be located:
- Drive stakes to indicate the four corner positions
- Run mason strings taut around the perimeter to lay out the outer edges
- Check diagonal measurements to ensure the carport area is perfectly square
- Use spray paint to mark anchor holes once the shape is properly defined
Digging Anchor Holes
Excavating holes for securing vertical posts requires:
- Digging down to depth specified by engineering plans
- Carefully measuring to double check hole spacing
- Completing one hole at a time prior to pouring concrete
Pouring Concrete to Set Anchors
Allowing the concrete to properly cure before erecting framing is crucial:
- Mix concrete per instructions for load-bearing applications
- Position pre-made metal anchor post saddles centrally prior pouring
- Use a spirit level to ensure consistency between different carport post holes
3. Step-by-Step Carport Construction
With prep work finished, it’s time to start actually building your carport’s structural skeleton.
Installing Support Posts
Posts provide the foundation for connecting horizontal beams:
- Lift vertical posts into predetermined concrete anchor holes
- Verify each post stands perfectly plumb and vertical
- Bolt securely into concrete post footing below to hold rigidly in place
Establishing Uniform Roof Height
The roofline pitch depends on identical post heights:
- Use pre-marked posts as a guide to cut remaining verticals
- Carefully measure cut points to achieve consistent tops
- Review angles and dimensions against plans
Attaching Structural Beams
Beams join the posts to support the roof:
- Sit level, horizontal beams atop posts
- Slide into pre-notched grooves to interlock
- Use bolts through carport post to fasten solidly from movement
Adding Rafters for Roof Slope
Rafters bridge up from the carport beams to the roofline:
- Run mason string lines at slope specified in building plans
- Ensure uniform rafter spacing based on size
- Cut angle edges to properly seat into beams
- Nail securely into lateral roof supports
4. Completing Construction Details
Once the underlying framework is in place, finishing touches complete your DIY carport.
Installing Guttering Systems
Capture and divert water runoff by integrating:
- Rain gutters with clips to attach to rafter tails
- Sufficient slope towards corners for drainage
- Downspouts that empty away from the structure
Attaching Carport Roof Sheeting
Protect your carport from sun and rain by:
- Starting from the ridge line down to beam edges
- Securely fixing corrugated metal or polycarbonate sheets
- Using screws with washers along overlapping joins
Optional Extras
Customise your carport project with:
- Lighting fixtures for visibility and security
- Chain-link fencing for an enclosure
- Storage solutions like shelving units
- Electric garage door for access
Conclusion: Maintaining Your New Carport
With proper care and maintenance, a DIY carport kit can provide lasting shelter to protect vehicles, patio items, or create bonus storage space for years to come. Be diligent to routinely check for wear from harsh weather or damage over time. Invest time into upkeep and your Australian carport will continue looking great while adding value to your property long-term.
For a free consultation on a custom carport catered to your unique needs, contact us today! Our team has 10+ years experience designing, building, and installing high-quality carports across the region. Our professional builders handle all permitting and our workmanship is fully guaranteed. Give us a call to get started!
Pro Tip:
Before breaking ground on your carport, do some basic steps for a preliminary check to avoid issues. Review if your carport plan is within the building code and council requirements and see if any engineering or planning approvals are needed. Knowing the carport regulations and meeting any local authority demands in advance will ensure your new construction proceeds smoothly and prevent permit headaches down the road. Having confirmation that your DIY carport adheres to laws for size, height, and location requirements will give you crucial peace of mind.


